The Process Behind "Candlelit Magic"
- Daystar Illustration

- Sep 25, 2024
- 4 min read

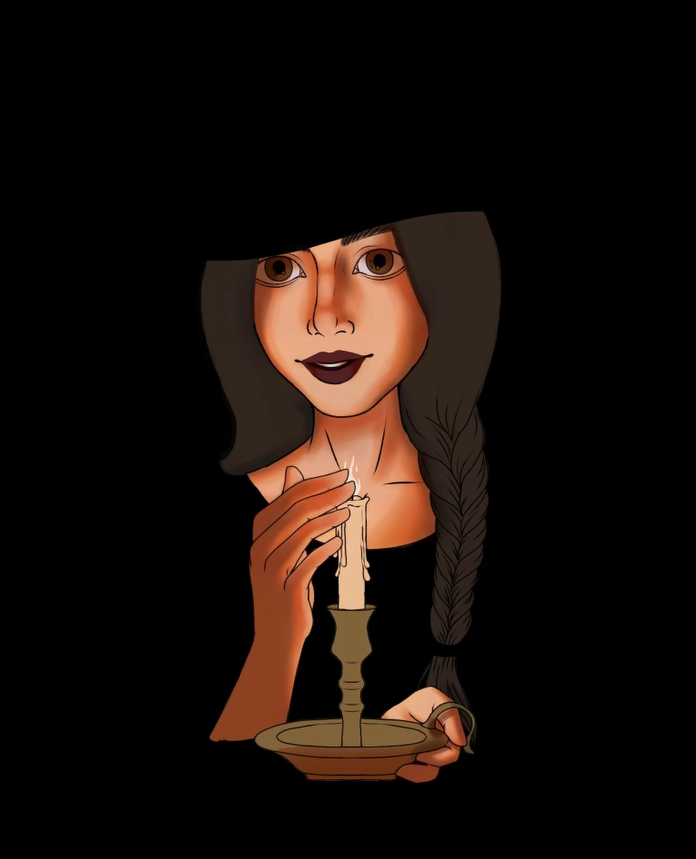
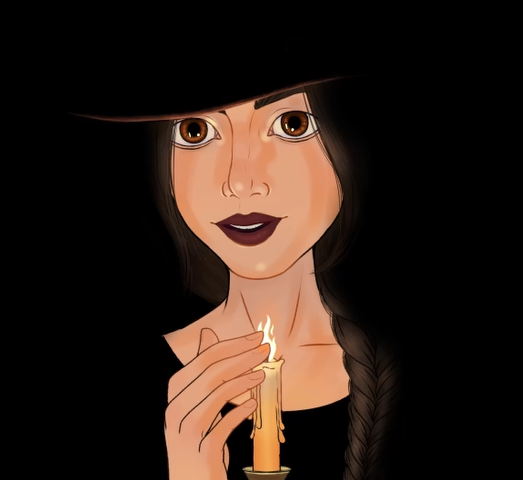
I recently finished this piece, and while I usually have a somewhat general workflow to follow, this piece did not go through that process because of the composition.
If you prefer videos, you can watch a speedpaint below of how this painting went. But for a more detailed look into the process, keep reading on!
I started out with a simple idea: a witch. From there I started looking for reference photos to find some inspiration.
I found the picture below on Pexels.com. I really liked the lighting, and the idea of seeing a witch in the middle of darkness only illuminated by candle light. I also really liked the models face in this and how she tilted her head, so I used that as a bit of a base idea.
That mixed with a few other pictures for hand poses, a candle holder, and how braids sit over a shoulder ended up being used as reference. I usually take my own pose reference pictures, and unfortunately clear them out of my phone after my sketch is at a good place. In the future I'll try to save some of them for blogs.
The sketch for this piece ended up being 2 seperate sketches: the head, and hands. Once I was happy with them, I took a picture and uploaded them into my digital canvas in Clip Studio Paint. I knew at this time that I also wanted it to have a black background, so to help me visualize where I needed line work, I filled in the canvas with my base.
I almost always use the color black for my lineart, so while I kept my sketch up for a good chunk of the lineart stage. At this point, I knew that I wanted the hair to look more realistic, so I did not line the face framing pieces. To check my lineart, I turned off the black layer, and the sketch to make sure it was still looking right in comparison to my sketch.
Next was adding in flat colors. I followed my normal process here to put in my best guess at daylight colors, so that I could add the warm orange lighting, and cool shadows from the flame later on. This is partially why I enjoy working in digital art, because I can always change the lighting direction and color later in the piece, and not change the entire piece doing so.
I added in undertones to her skin before adding in shadows. I almost decided to skip ahead to the flame lighting, but I wanted to think about where the shadows would be, rather than where the light would be. At this point, I no longer follow my normal process of rendering all pieces before working on lighting and shadow, and instead tackled each piece one at a time, before moving into the next.
In the video, I first put down a grayish-purple shadow, but realized that my lighting reference had no purple tones, and instead the shadows were a deeper orange color. So I adjusted the shadow color, then proceeded with giving the shadows more depth in order to give the character more of a form.
At this point, I still wasn't quite ready to move onto lighting, and instead decided to do some rendering of the candle and candle holder. I started with gradients and flat color blocking again.
Once satisfied with the brassy look, I began adding in the glow and lighting from the candle. Additionally, I fixed some of the shadow placement around the candle holder and her lower hand. I also take this time to add some details to her eyes.
As you can see, I still haven't detailed the hair in any way. I wasn't quite sure how to tackle it earlier on, so while working on the other aspects of the piece, I was figuring out how I wanted to approach her hair. Part of that procrastination resulted in changing up some of the lineart colors to make it less harsh, and adding some more small details to the hands.
Finally, I decide to start tackling the hair. I start again with laying out rough flat colors. Thinking again, what would these look like in daylight? I turned off some of the light and shadow layers so that I could render without that influence first, in case I decided to show more of the braid than originally imagined.
To render the hair strands, I used a small calligraphy like brush, and slowly added in more depth with various brown shades.
I used a similar technique to render the hair surrounding the face, but also skipped the bold color blocking, and also erased some of the base shape.
To give the hair a bit more realistic look, I added some single strands, and a little more lineart to give a bit more depth to the face framing hair.
While I still have the shadow and light layers off, I take the opportunity to add a bit of a black vignette around the hair to create more depth within where the shadows will be.
I go in and adjust the light and shadow layers one more time, this time also adjusting the colors to be more saturated in an orangey tone. and finally I add few more details to the hair, lighting, and some magical sparkles surrounding the candle.

I ended up being so content with how this piece turned out, that I might actually hang up a print of it in my own home for Autumn. Which is a big thing for me, because I don't hang up my own art.
I hope you enjoyed following me along with the process of this art piece. I'll have it up in my Inprnt Shop soon, but until then, I'll have prints for sale at in person events.


Comments